Molding paper pulp is a common process used to create paper products such as books, cards, and magazines. There are various steps that must be completed in order for the paper product to be made properly and with high quality. In this article, we will discuss the raw materials needed for molding paper pulp, the soaking process, how to mold the paper pulp, the finalizing process, trimming, inspection, standard packing, and storage of the molded paper product.
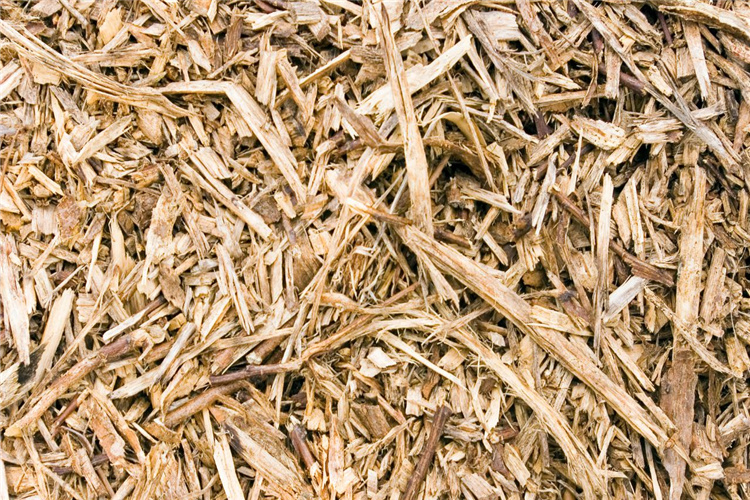
1. Raw Materials:
The raw materials necessary for molding paper pulp can vary depending on the type of paper being made. Generally speaking, though, it is necessary to have some form of cellulose fibers (such as wood pulp), water, and a few additives. The cellulose fibers will be placed in the paper-making machine, which uses mechanical action to break down the cellulose into small particles. This is known as fiberizing. It is important to have the right combination of raw materials so that the end product has desired properties like strength, flexibility, and durability. Make sure to assess your needs before selecting the raw materials.
2. Soaking:
In order for the cellulose fibers to be broken down and form a cohesive paper product, they must first be soaked in warm water. The soaking process softens the fibers, making them easier to mold and shape into the desired form. Different types of paper may require different lengths of time for soaking, so make sure to research the proper timing during this step. Additionally, if too much water is used, it can cause bubbles and weak spots within the paper product.
Also Read: Renewable paper pulp egg tray manufacturer
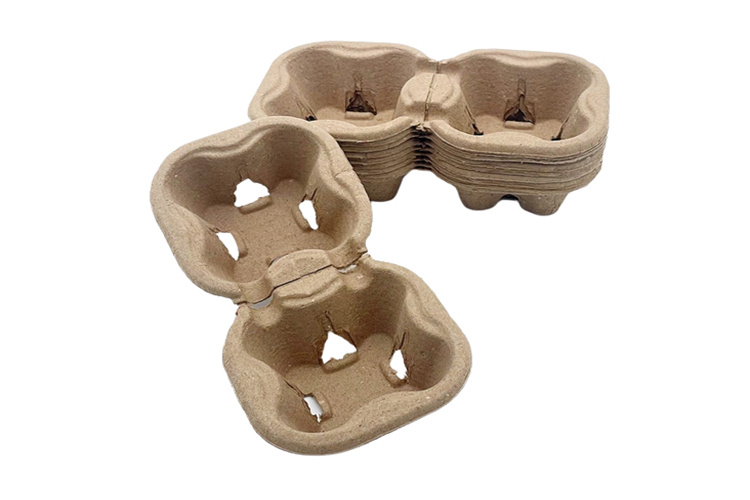
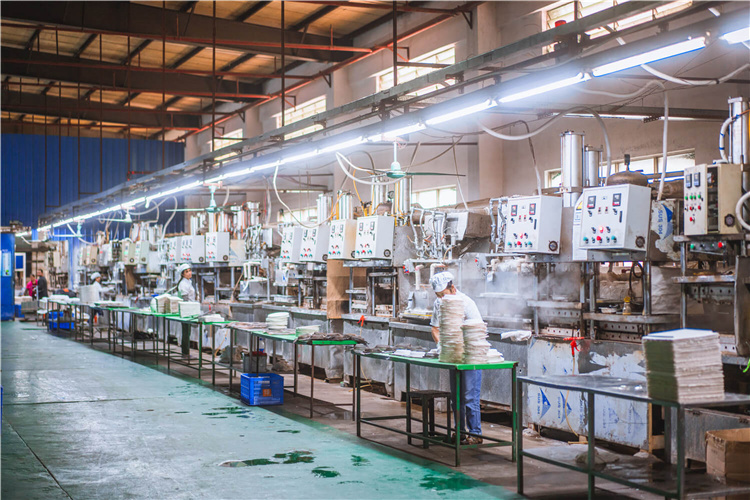
3. Molding:
The next step in the process is molding the paper pulp into a desired shape or product. This can be accomplished by using a variety of machines such as vacuum forming, sheet molding, or die-cutting. When selecting a machine for this step, it is important to consider the size and shape of the final product. The material should also be placed in the mold in an even manner so that there are no weak spots or bubbles when the paper is finished.
4. Finalizing:
For the paper product to have the desired properties of strength and flexibility, it must go through the finalizing process. This usually involves drying out excess water from the paper pulp and allowing it to become permanent. There are various ways of doing this, such as air drying or heat pressing. Heat pressing is the more popular option, allowing for faster drying time and a more even final product.
5. Trimming:
Once the paper has been dried, it is essential to trim any edges that may be uneven. This will ensure that the paper product looks neat and professional when finished. Specialized machines can be used to accurately cut the edges of the paper to make sure they are uniform in size and shape.
6. Inspection:
Before proceeding with packaging and storage, inspecting all aspects of the product is important. Make sure there are no weak spots or bubbles in the paper, check if all edges are uniform in size, and look for any imperfections that could affect its quality or performance upon completion.
7. Standard Packing:
Once the paper product has been inspected and trimmed, it’s ready for packaging. Different types of packing material may be required depending on the type of product being made. For example, some products require special wrapping or containers in order to remain protected during shipping and storage. Make sure to research what type of packing material is right for your product before proceeding with packaging.
8. Store:
Finally, the paper product must be stored properly if it is going to remain in good condition over time. Different materials need different levels of humidity to stay intact – too much moisture can cause mold or mildew growth, while too little can lead to cracking and discoloration of the paper. Keeping the product in a dry and cool area will help preserve its quality over time. Additionally, if you are using more than one type of material for your paper product, make sure to store them separately, as some materials may not be compatible with each other. This can lead to unwanted reactions or deformation of the product itself.
What Things To Remember While Molding Paper Pulp
1. Wear protective clothing such as gloves, eye protection, and a face mask when working with paper pulp. This will help to protect your skin and eyes from the particles that can be released while molding the material.
2. Make sure you use enough water to fully saturate the paper pulp before beginning to shape it. This will help prevent any cracking or crumbling of the material during sculpting.
3. Control the amount of pressure you apply when molding or shaping the paper pulp into a desired form. Too much pressure can damage the integrity of your creation, while too little won’t be effective in giving it its intended shape or texture.
4. Test out different types of papers to see which one works best for the desired design. Some paper types, such as cardstock or newspaper, may require stronger pressure to hold their shape, while others may be easier to form.
5. Let your creation dry naturally before adding any color or other embellishments. This will help ensure that the paper pulp maintains its shape and texture throughout the drying process.
6. Keep all of your supplies organized so you don’t have to search for them when needed. This will save time and ensure that you have everything you need close at hand while working on a project.
Conclusion
The papermaking process is a complex and intricate one, but with the right supplies and knowledge, it can be done successfully. By following these steps, from soaking to trimming and inspection to packaging, you will ensure that your paper product comes out looking professional and ready for use. Additionally, by taking safety precautions such as wearing protective clothing and controlling pressure while molding the pulp, you can ensure that no harm or damage comes to yourself or your creations during the papermaking process. With practice and patience, you’ll be creating beautiful paper products in no time!